
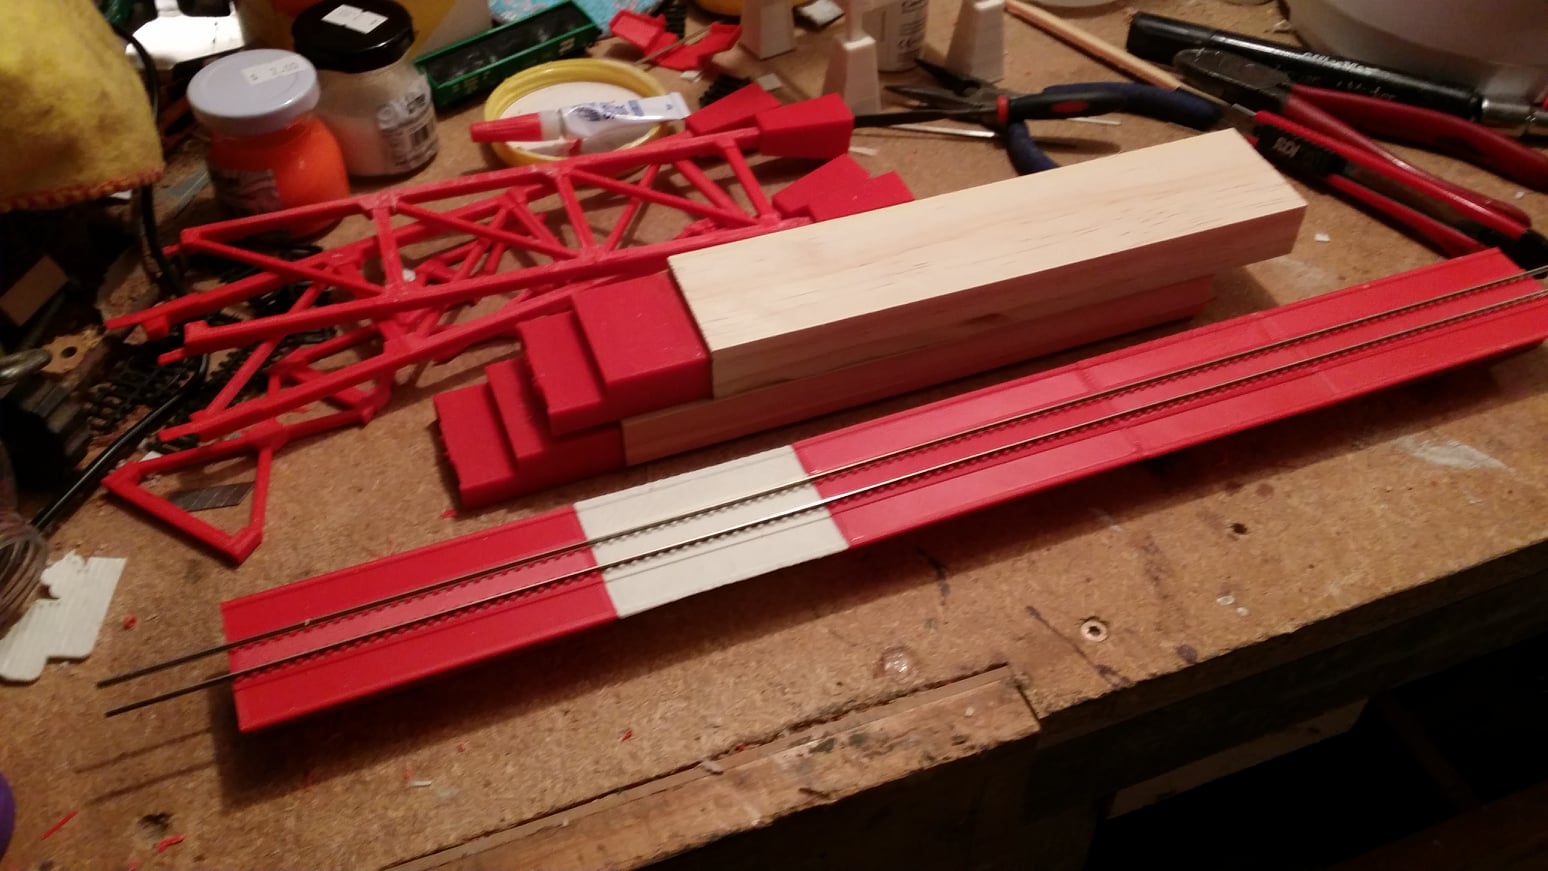
The parts were then glued together with Superglue, then using a car repair spot putty. The model will then be painted with an aerosol car primer, then hand painted.


I've used a lot of different 3d modeling software over the years. While I am still learning Blender and use Sketchup for various things, I keep coming back to Rocket 3F... because it is so easy to learn and use. Here's a review from Gamefromscratch on Youtube.
An a beginners guide:
And there is a free version to get you started:
https://www.rocket3f.com/
After a few non starts, hair pulling and loads of frustration, I finally overcome my urge to take to the 3D printer with 12 gauge shotgun and put it out of its misery, and at the same time bring some sanity back into my life.
Kapton tape, in my opinion is a waste of time and money. Instead, I followed some good advice from the Google group (Flashforge); I had some 3mm glass cut into appropriate size, some small paper clips, printed a spacer from a download from Thingiverse, bought some Acetone, mixed up some slurry, and tried printing with this combination. All good. Success at last. I have since been building an inventory of 1/160, 1/120, 1/87, and 1/64 items for model railways.
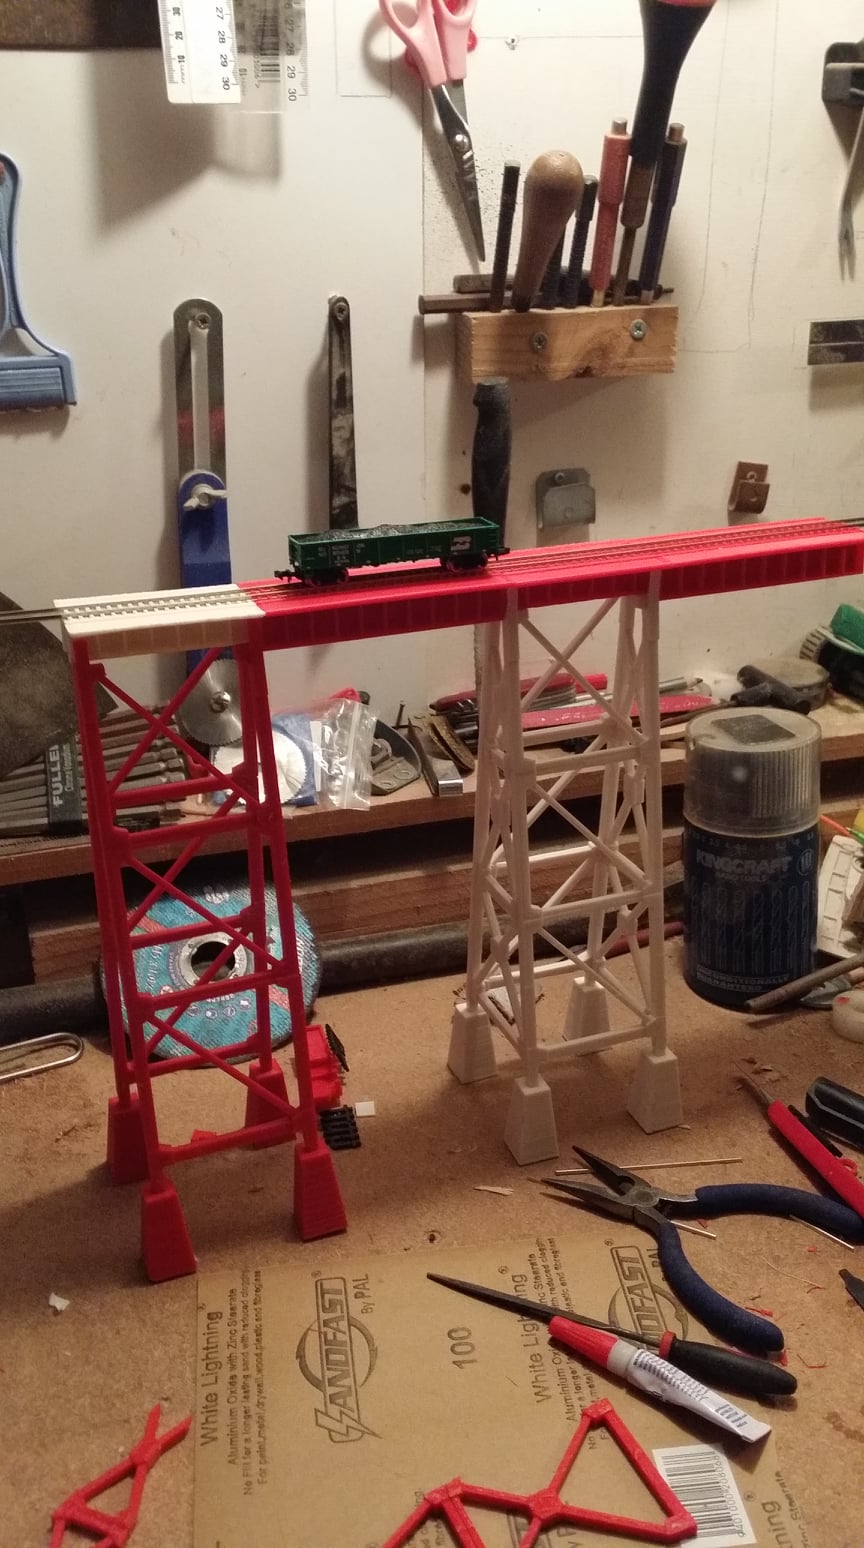
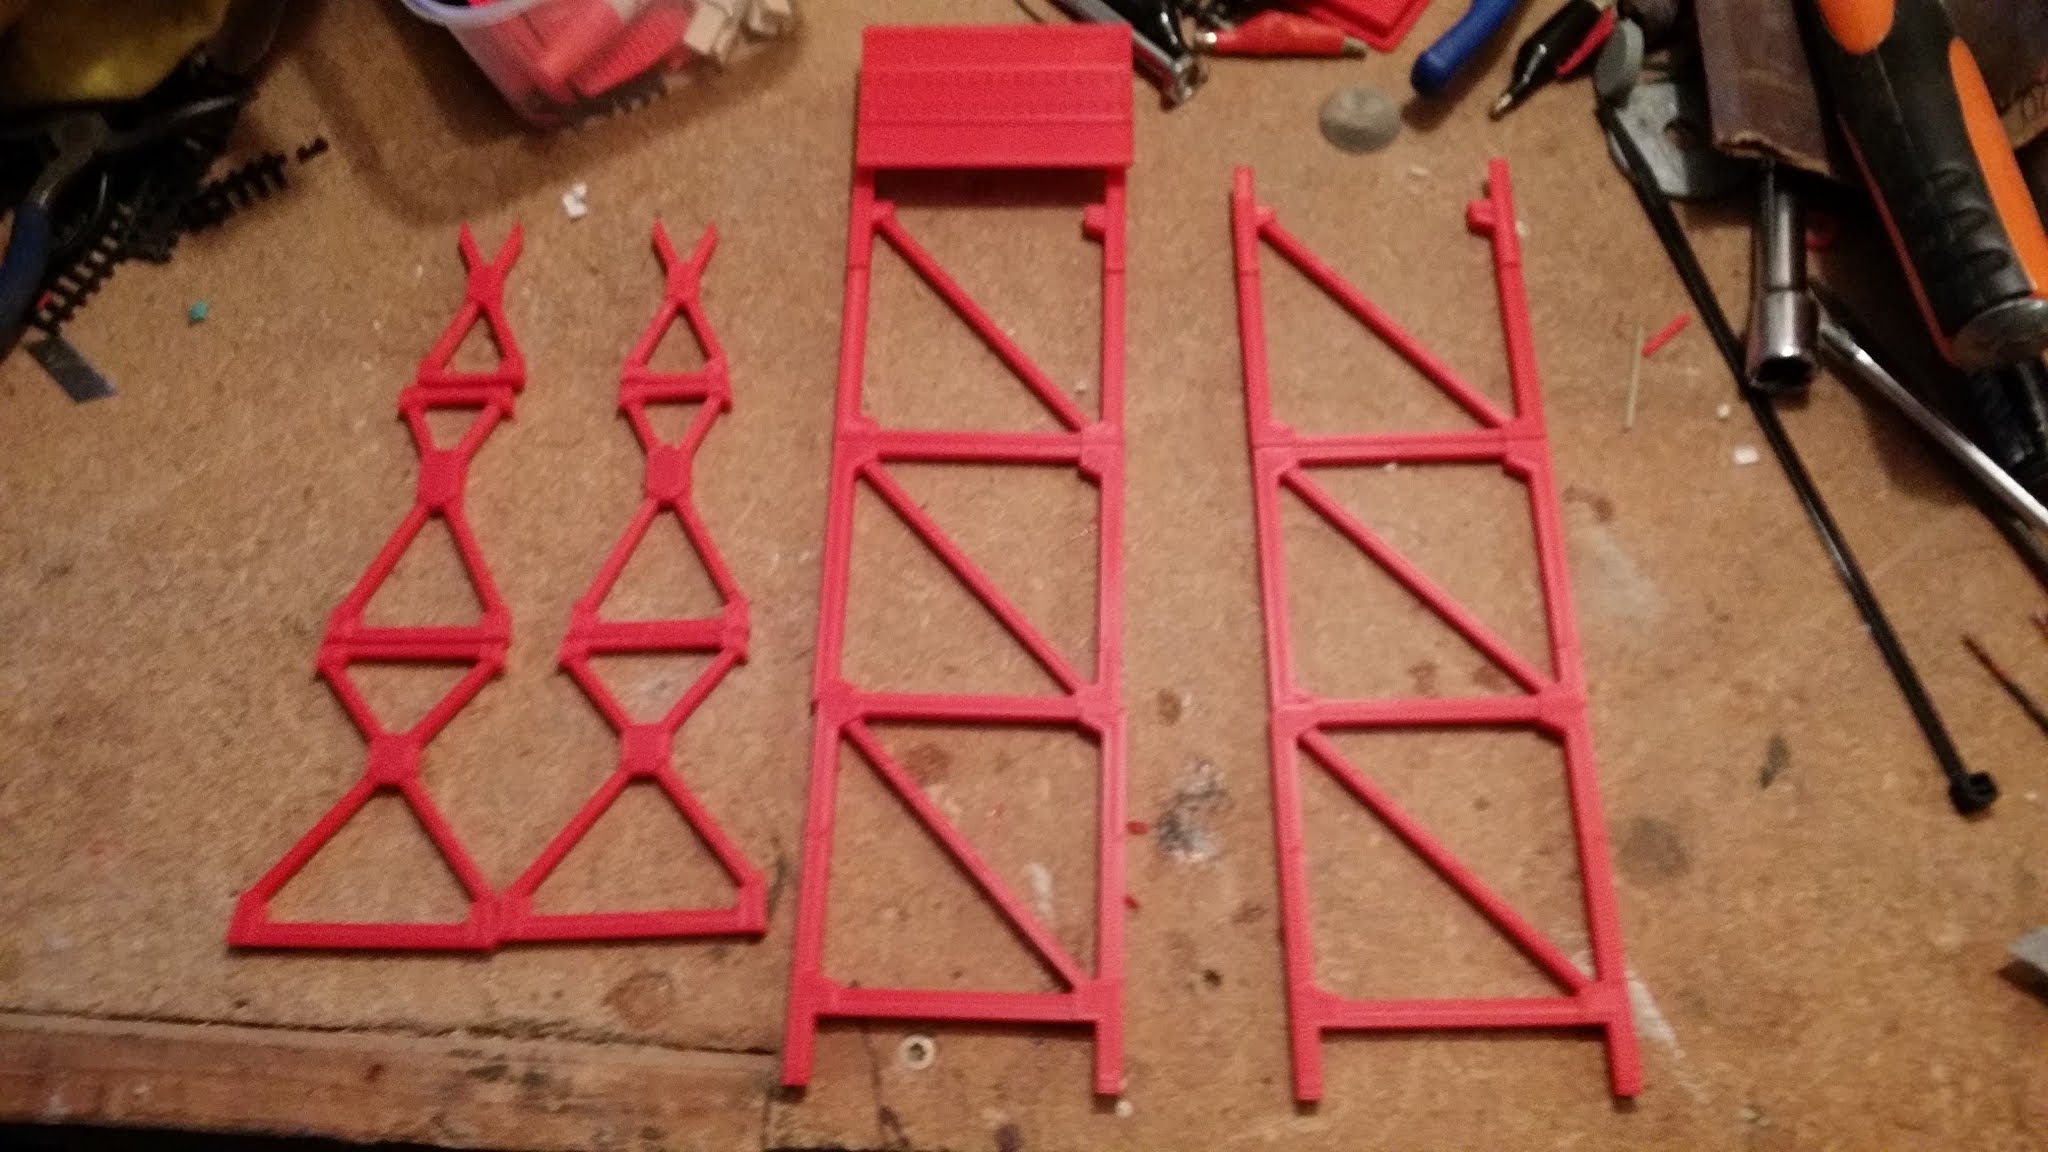
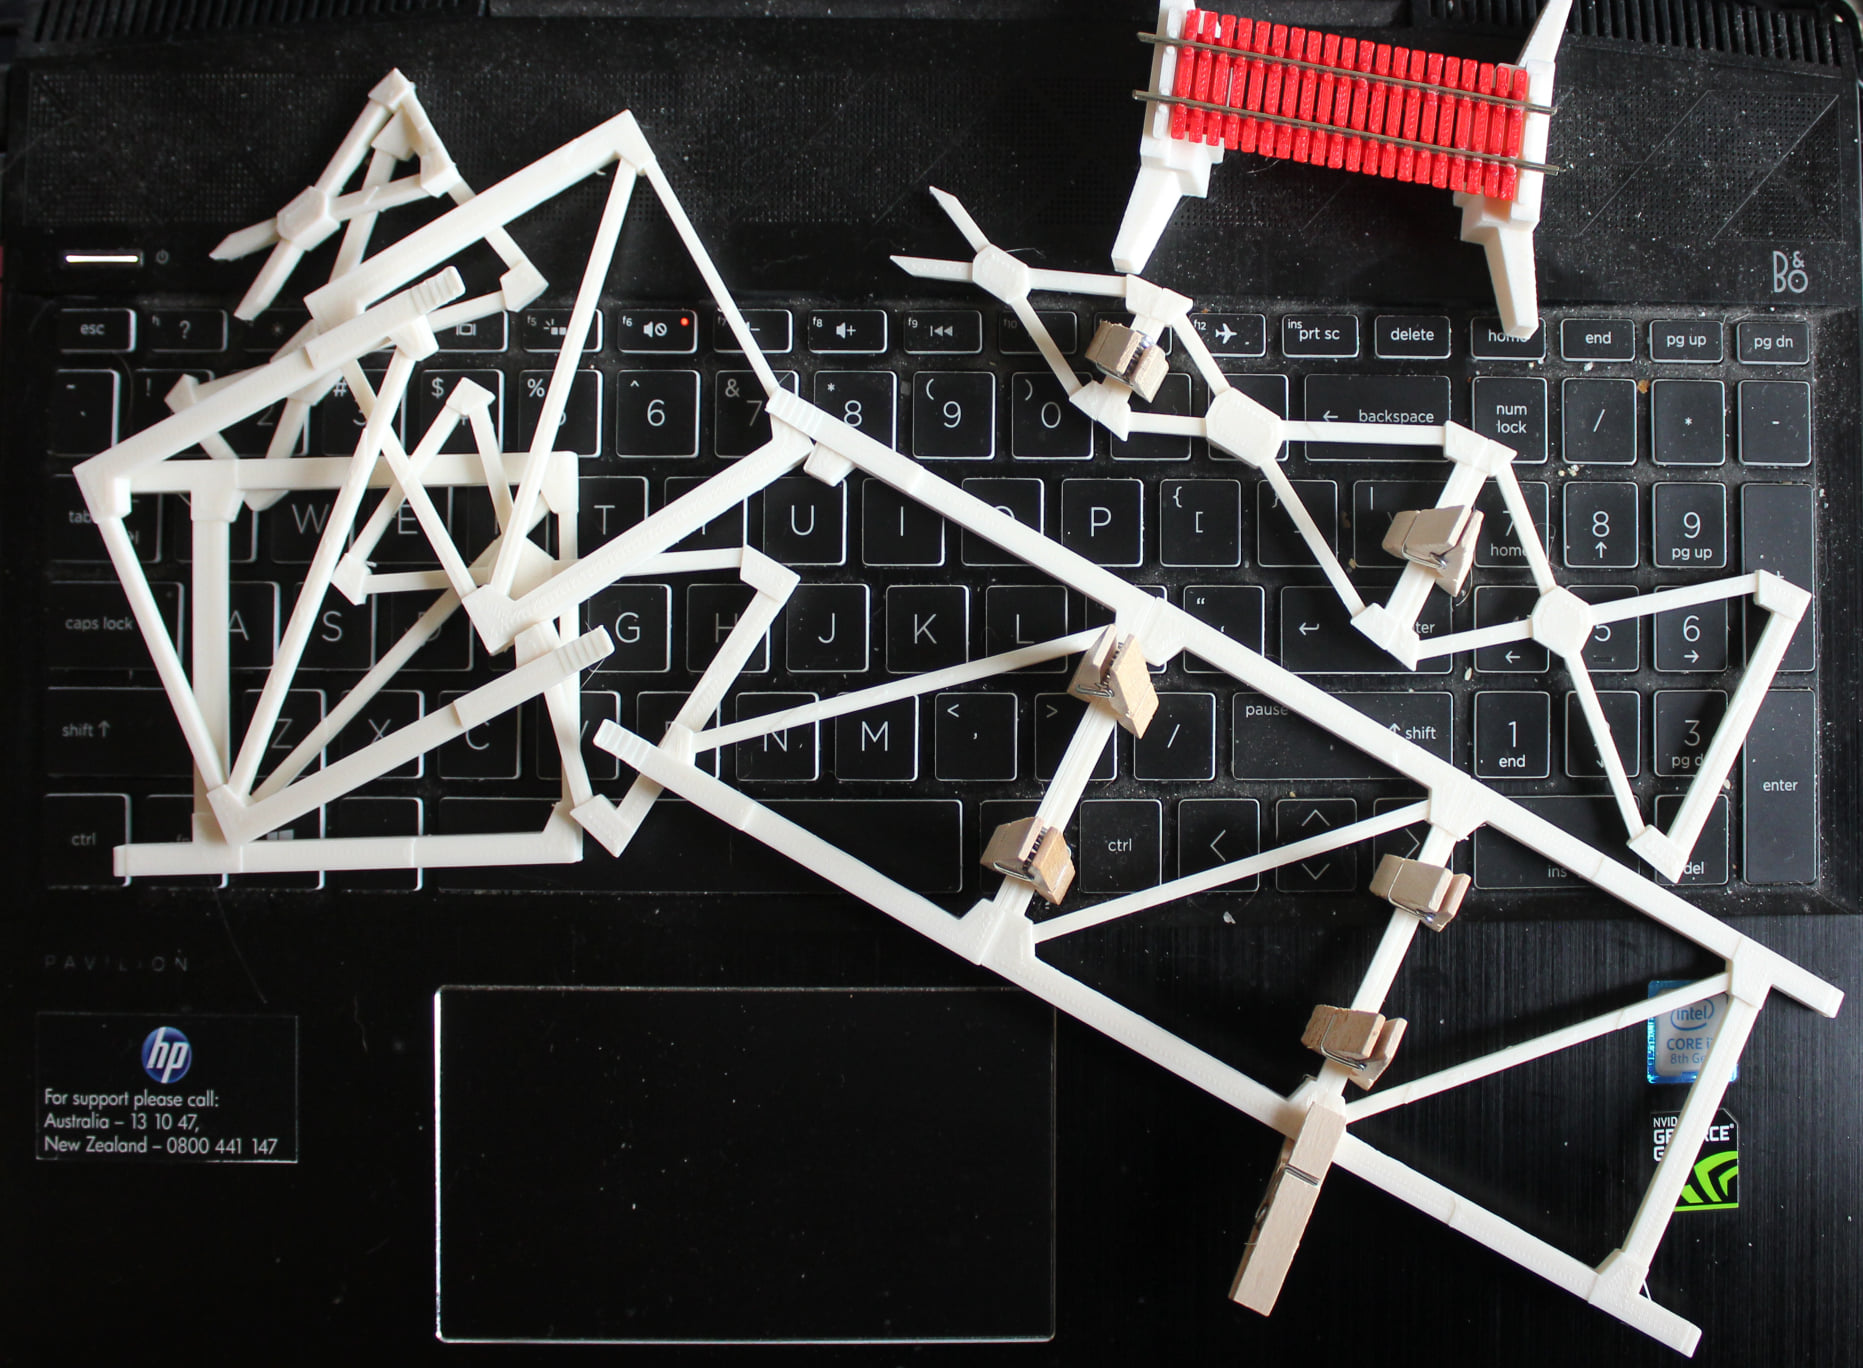
1/120 scale viaduct under construction. Printed in ABS
So far I have 88 different models of those varying scales, have worked out a charge out rate which is fair and covers materials, time spent on 3D development, and a charge out rate per minute for the replacement of the printer.
This store goes online later this year as I have several other things to work out, such as a database, labeling (branding) and so forth. Also because of my health the whole process is being documented so my family can run the business if I am unable to in the future. In all the past 3 months have been a trial, and I'm pleased to say that perseverance is finally paying off.
There are some of the models (ABS only) in development waiting for basic clean up. There are still some issues, the main being that the printer, a FFCP, doesn't print as fine as I'd like, but I'm sure these limitations will be overcome as things progress... I'm already looking at getting .30 and .25 nozzles for some of the finer print effects I'm seeking.

